Drywall Repair: Fix It Right the First Time in Tempe
A small drywall hole or recurring crack can make an otherwise well-kept room look unfinished. The good news is that isolated damage can often be repaired without replacing the entire wall.
Drywall repair is usually the right choice for dents, holes, loose tape, minor cracks, and small areas of damage. Acting early can keep the repair manageable and help restore a smooth, clean finish.
At Tempe Handyman Pro,
we help homeowners repair damaged walls and ceilings in Tempe and surrounding East Valley communities. Here is what you should know before you patch, replace, or paint over the problem.
What Causes Drywall Damage?
Most drywall damage comes from everyday impacts, minor home movement, leaks, or old repairs that were not finished correctly. The appearance of the damage often gives you a clue about what caused it.
Common examples include:
- Door handles punching through the wall
- Furniture dents and moving damage
- Cracks above doors or windows
- Popped nails or screws
- Loose or bubbling drywall tape
- Plumbing, roof, or HVAC leaks
- Electrical and plumbing access holes
- Rough or visible DIY patches
- Ceiling stains or sagging areas
A single small dent is usually cosmetic. However, a crack that keeps returning, a soft wall section, or a spreading water stain may indicate a problem behind the drywall.
Our guide to the signs you need professional drywall repair can help you determine whether a simple patch is enough.
Should You Repair or Replace the Drywall?
Repair is normally best when the damage is isolated, and the surrounding drywall is still dry and solid. Replacement is safer when the material is wet, weak, sagging, mold-affected, or damaged across a large area.
| Type of Damage | Likely Solution |
|---|---|
| Nail holes and shallow dents | Fill, sand, prime, and paint |
| Small hole from a door handle | Patch and blend |
| Medium hole | Add backing and install a fitted patch |
| Loose tape or damaged seam | Retape and apply joint compound |
| Recurring crack | Inspect the cause, reinforce, and refinish |
| Water stain on firm drywall | Fix the leak and assess the material |
| Soft, swollen, or sagging drywall | Remove and replace the damaged section |
| Large unfinished area | Install new drywall |
A professional can also check whether the visible damage extends farther behind the wall than it appears on the surface.
For a closer comparison, read drywall repair vs. drywall installation.
What Should You Do About Water-Damaged Drywall?
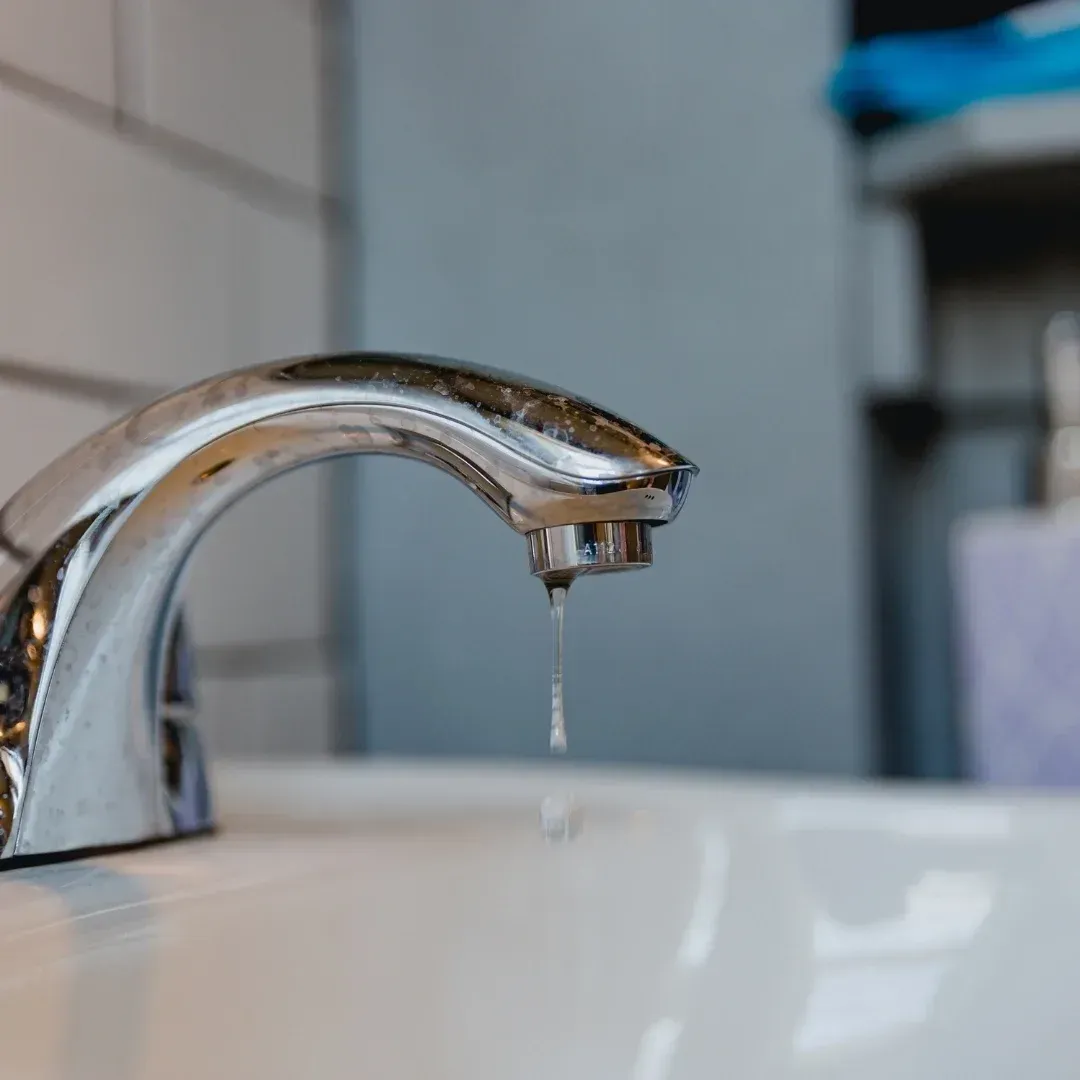
You should stop the leak and dry the area before repairing or painting the drywall. Covering damp material can allow stains, odors, deterioration, or mold growth to return.
The U.S. Environmental Protection Agency recommends drying water-damaged materials within 24 to 48 hours when possible and correcting the source of the moisture. Absorbent materials with significant mold growth may need to be removed rather than covered.
Call a professional when you notice:
- Brown or yellow stains
- Bubbling paint
- A soft or spongy wall
- Swollen drywall
- Sagging ceiling material
- A musty odor
- Damage near plumbing or an air-conditioning unit
- A stain that returns after painting
Ceiling damage deserves extra attention because weakened material can loosen or fall. Our article on drywall ceiling repair explains why the source of the damage should be addressed before the ceiling is closed and refinished.
Why Do DIY Drywall Patches Often Stay Visible?
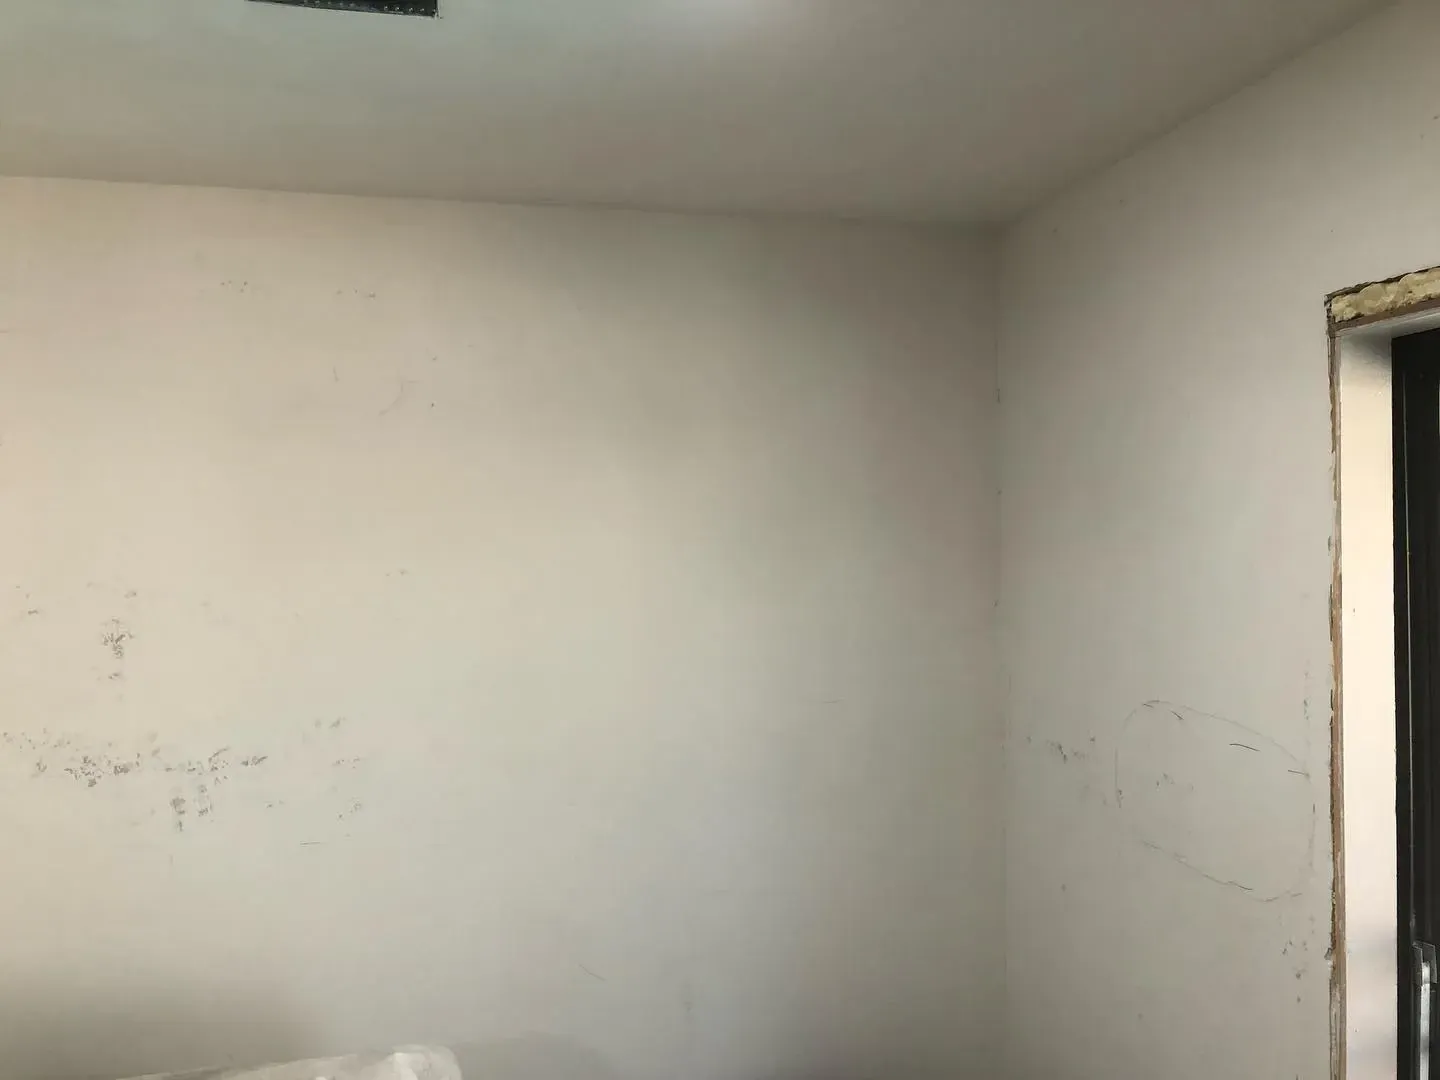
DIY patches often remain visible because the joint compound is applied too thickly, the edges are not feathered widely enough, or the wall texture is not matched. Skipping primer can also leave a dull or shiny patch after painting.
Closing the hole is only part of the job. A repair must also blend with the surrounding surface.
Common DIY problems include:
- A raised patch that creates a visible bump
- Sanding marks around the repair
- Mesh or tape showing through the compound
- Uneven orange-peel or knockdown texture
- Paint that flashes under natural light
- A crack that returns because it was not reinforced
- A patch that bubbles because moisture remains behind it
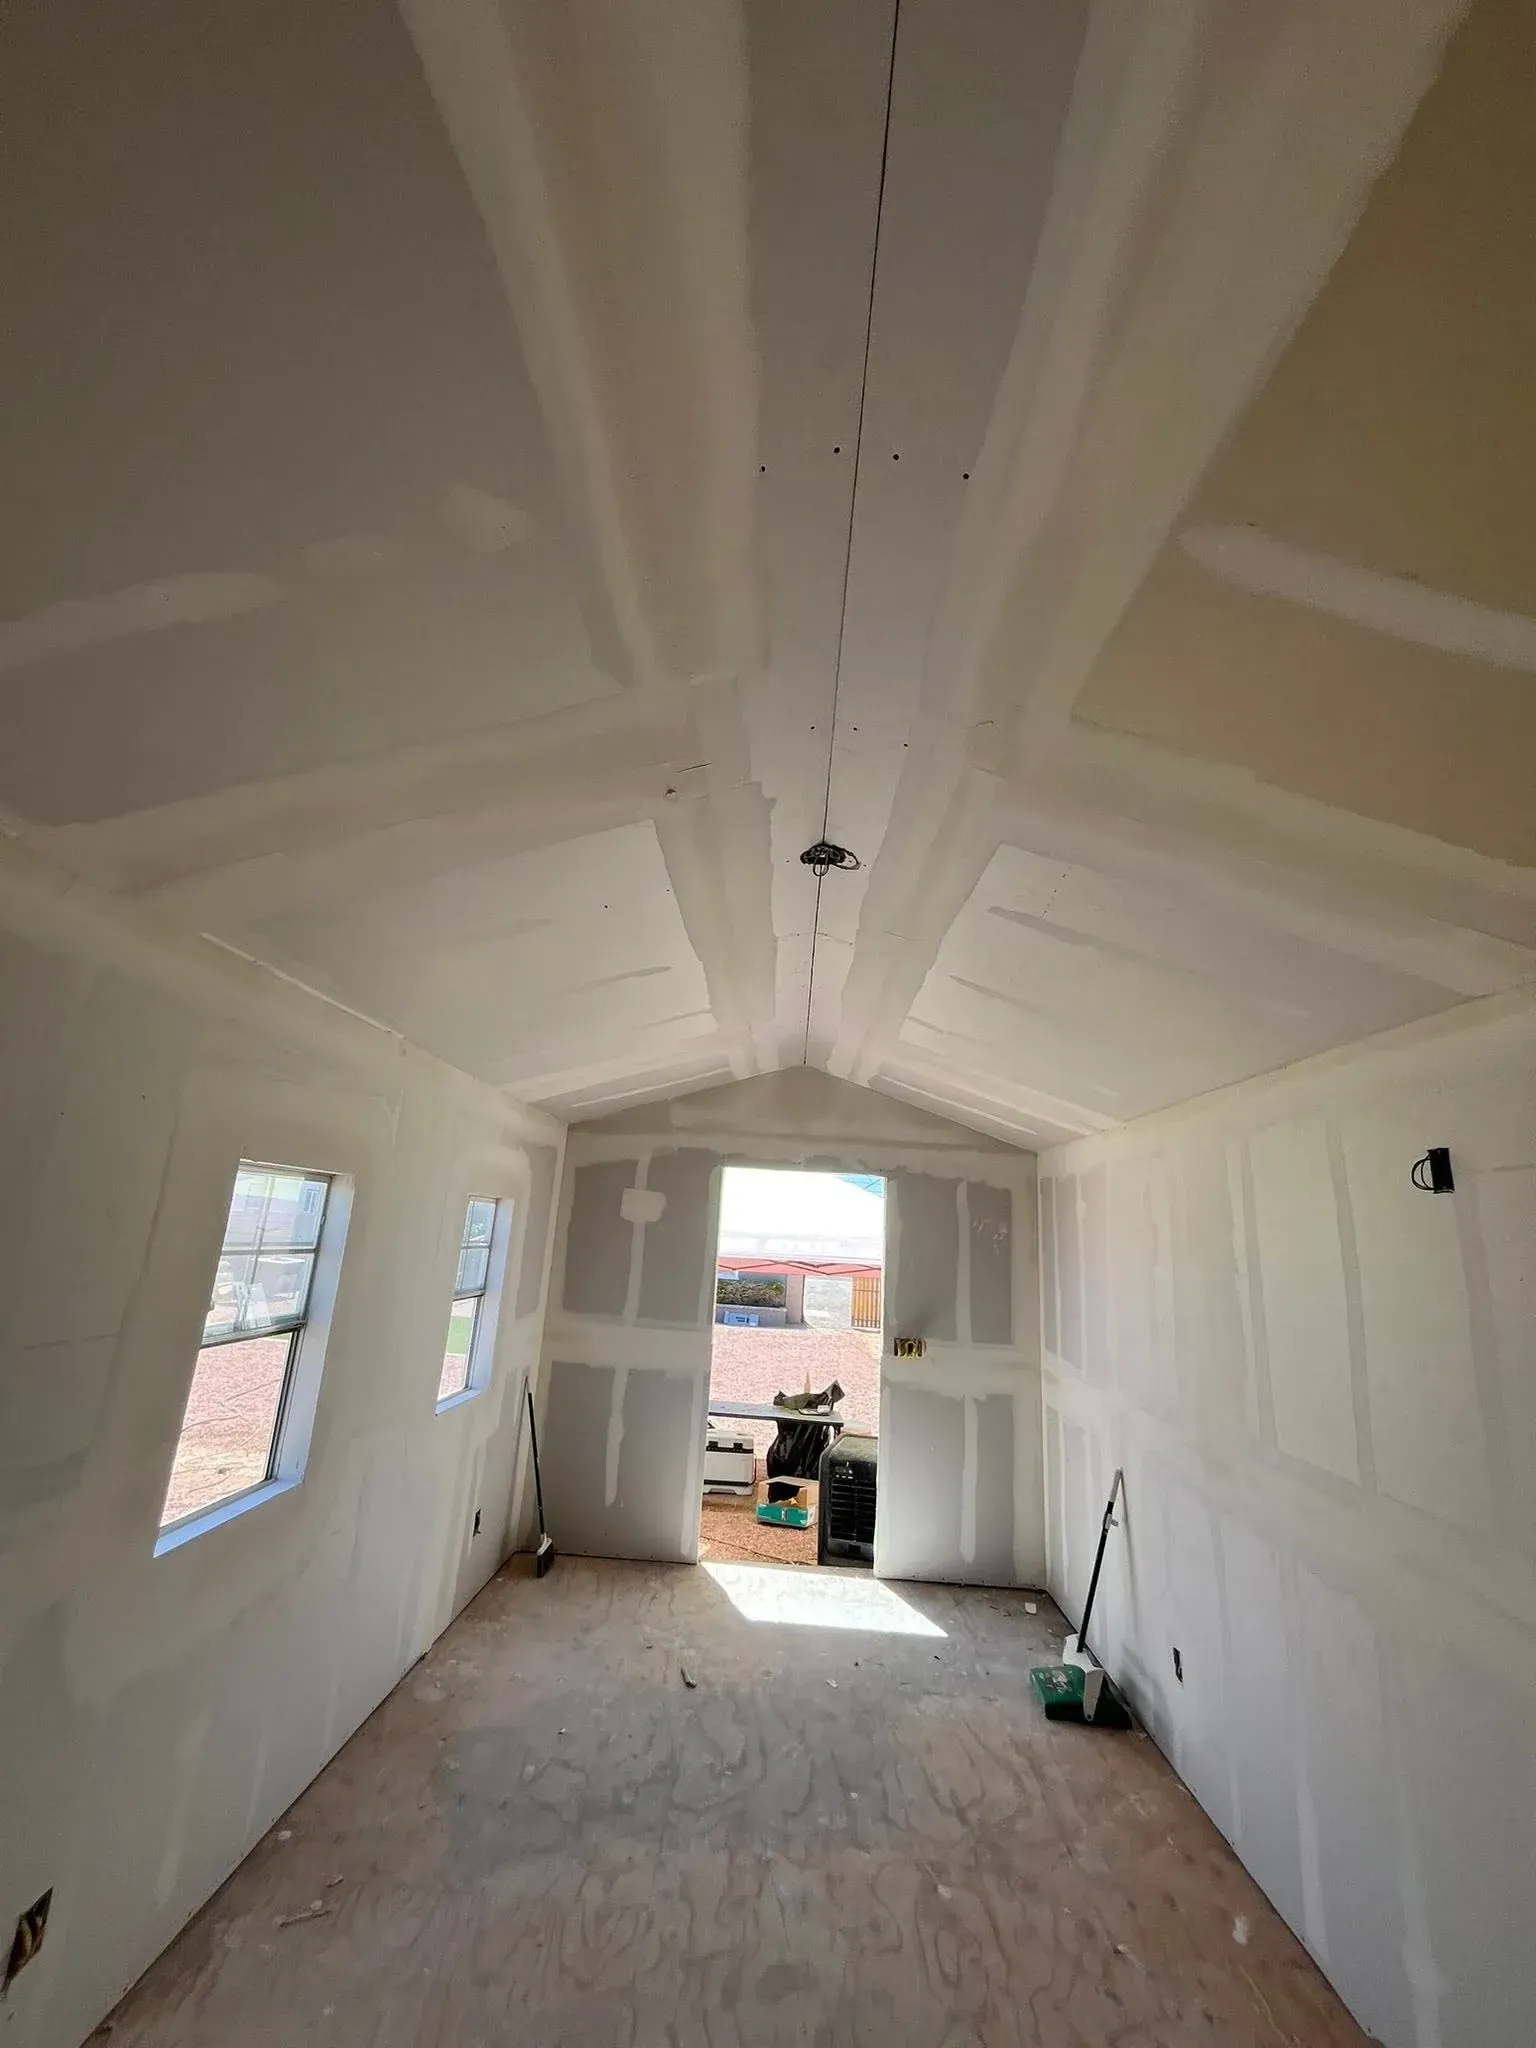
Professional finishing usually uses several thin coats instead of one heavy coat. Each layer is extended farther beyond the damaged area, creating a gradual transition that is much harder to see after sanding and painting.
What Happens During Professional Drywall Repair?
A professional repair includes inspection, surface preparation, patching, finishing, priming, and paint preparation. The exact process depends on the size, location, texture, and cause of the damage.
- Inspect the area. We check for moisture, loose drywall, recurring movement, or other problems that should be addressed first.
- Protect the room. Nearby floors, furniture, and surfaces are covered before cutting or sanding begins.
- Remove unstable material. Damaged drywall is trimmed back to firm edges when necessary.
- Install the patch. Backing, tape, patch material, or a fitted piece of drywall is secured in place.
- Apply joint compound. Multiple thin coats help create a smooth, durable transition.
- Sand and feather the edges. The repair is blended gradually into the surrounding wall.
- Match the texture. Orange peel, knockdown, or another existing finish is recreated as closely as practical.
- Prime and paint. Primer seals the joint compound before the repaired area is painted.
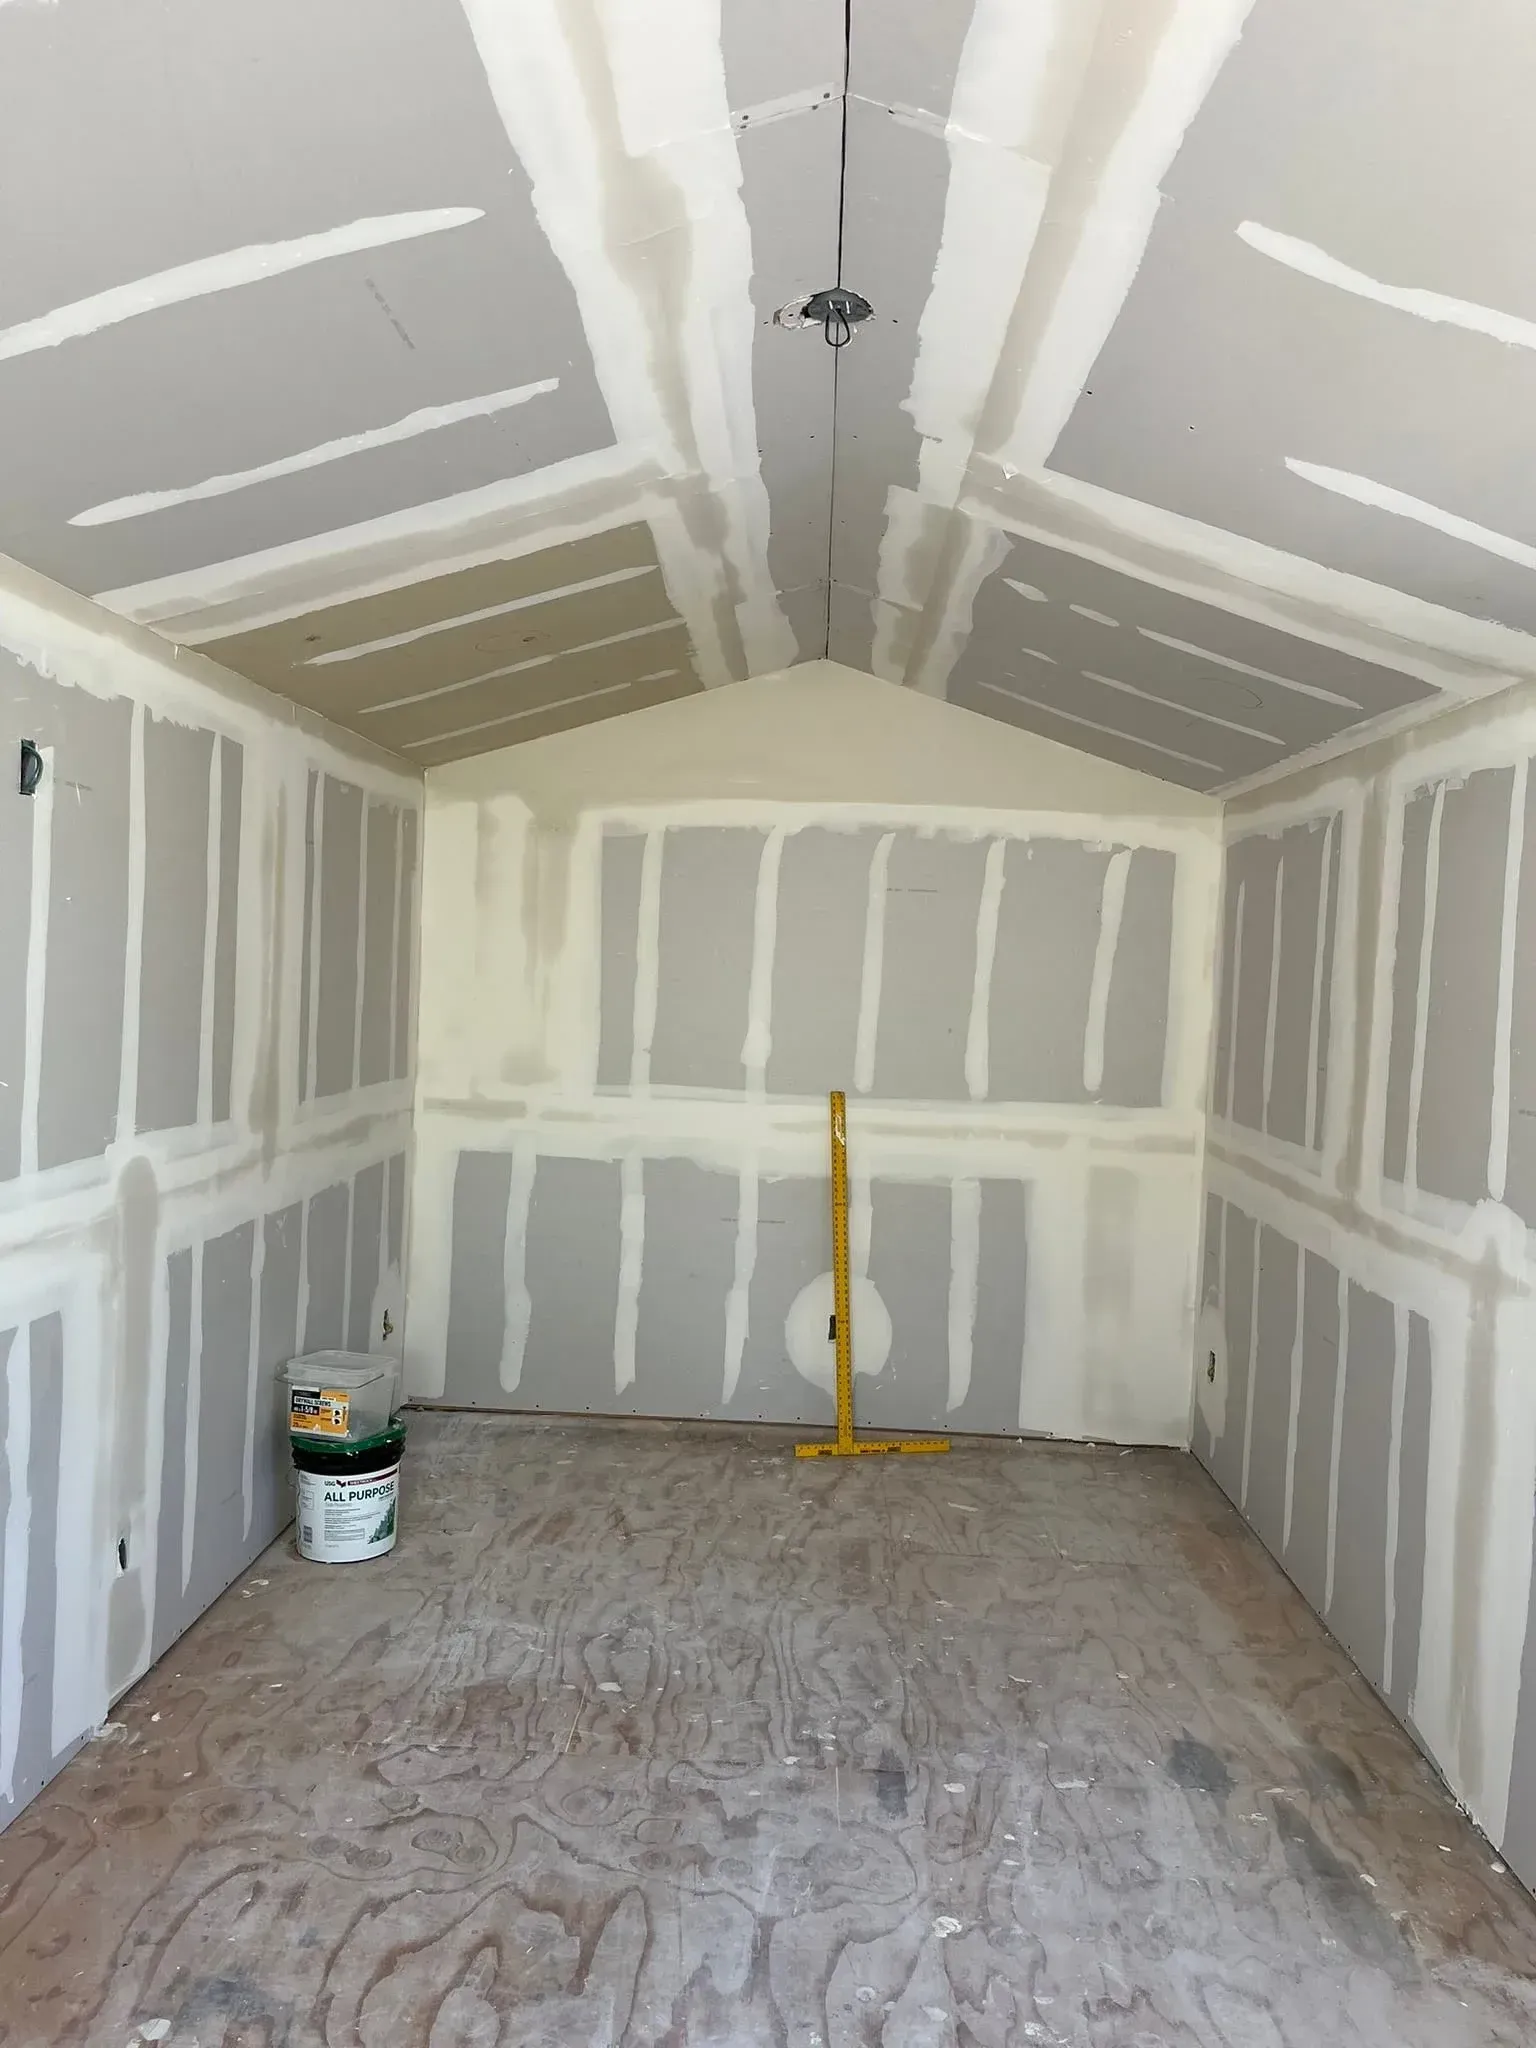
For a more detailed explanation of the materials and techniques involved, see our complete guide to drywall repair and installation.
Why Are Priming and Painting Important?
Primer prevents fresh joint compound from absorbing paint differently than the surrounding wall. Without it, the repaired area may remain visible even when the paint color is correct.
Fresh compound is more porous than a previously painted wall. Applying paint directly over it can create a noticeable flat or shiny area known as flashing.
A quality finish normally includes:
- Sanding away ridges and tool marks
- Removing dust from the repair
- Applying drywall primer
- Matching the existing paint sheen
- Blending the paint beyond the edge of the patch
Touch-up paint may still be visible if the surrounding wall has faded, become dirty, or was painted many years ago. In those cases, painting the full wall from corner to corner may produce a better result.
How Long Does Drywall Repair Take?
Small drywall repairs may take a few hours, while larger patches can require one or more return visits. Drying time between coats, texture application, priming, and painting all affect the schedule.
A basic nail hole is faster to finish than a large ceiling patch. Repairs involving active moisture must wait until the leak is corrected and the area is properly dried.
You can prepare for the appointment by:
- Moving furniture away from the work area
- Removing nearby wall art
- Providing leftover paint or the paint color
- Sharing details about previous leaks
- Keeping children and pets away from the workspace
How Much Does Drywall Repair Cost?
Drywall repair cost depends on the size, location, access, texture, and amount of finishing required. Water damage, ceiling work, and multiple repairs generally cost more than a single small wall patch.
Our drywall repair and installation service costs approximately $100 to $300 for typical minor repair. Larger ceiling or installation projects may range from $500 to $2,000 or more, depending on labor, materials, and project size.
These are general estimates rather than fixed quotes. Pricing should be reviewed regularly because labor costs, materials, and service scope may change.
When Should You Call a Professional?
You should call a professional when the repair involves moisture, a ceiling, a large opening, recurring cracks, texture matching, or a previous patch that keeps showing through the paint. These situations often need more than spackle and a quick touch-up.
Get the area inspected when you see:
- A crack that widens or repeatedly returns
- A diagonal crack near a door or window
- Soft, wet, or discolored drywall
- Sagging ceiling material
- Bubbling paint or loose tape
- Several nail pops in the same area
- A musty odor
- A patch that remains visible after painting
Routine home checks can help you find leaks, wall movement, and loose finishes before the damage spreads. Use our proactive home maintenance guide for Tempe to build a simple inspection routine.
FAQs About Drywall Repair in Tempe
Can I repair a small drywall hole myself?
Yes. You can often repair nail holes, shallow dents, and very small openings yourself. Larger holes, textured walls, ceilings, and moisture-related damage are more difficult to blend properly.
Can drywall repair remove a musty smell?
Not by itself. The source of the moisture must be corrected, and damp or mold-affected material may need to be removed.
Should I repair drywall before selling my home?
Yes, especially when holes, stains, cracks, or rough patches are easy to see. Smooth walls help the home look maintained and reduce obvious cosmetic concerns during showings.
What is the difference between spackle and joint compound?
Spackle is normally used for tiny holes and minor surface damage. Joint compound is better for seams, taped repairs, larger patches, and areas that must be feathered into the surrounding wall.
Do you work outside Tempe?
Yes. Tempe Handyman Pro serves Tempe, Scottsdale, Chandler, Mesa, Gilbert, and surrounding East Valley communities.
Get Your Walls Looking Finished Again
You do not have to keep staring at a hole, crack, stain, or patch that never blended correctly. We can inspect the damage, explain your options, and help you choose a repair that fits your home.
Call
Tempe Handyman Pro at
(480) 265-7565 to discuss your drywall repair and request a free estimate.
Share article
Recent posts